本章讲解如何使用 Node.js 操作 MongoDB 数据库。分为两部分
- MongoDB 的安装与使用
- Node.js 第三方模块 mongoose 的使用
MongoDB 简介
MongoDB 是一个 NoSQL 数据库,它的数据组织结构为
一个数据库 (database) 包含多个集合 (collections),一个集合包含多个文档 (document),在 MongoDB 中,文档是 JSON 格式的对象
{
  "_id": ObjectId("6008027ec026735cc4aab553"),
  "username": "Alice",
  "todo": "学习"
}
|
进入 MongoDB 官网 进行安装
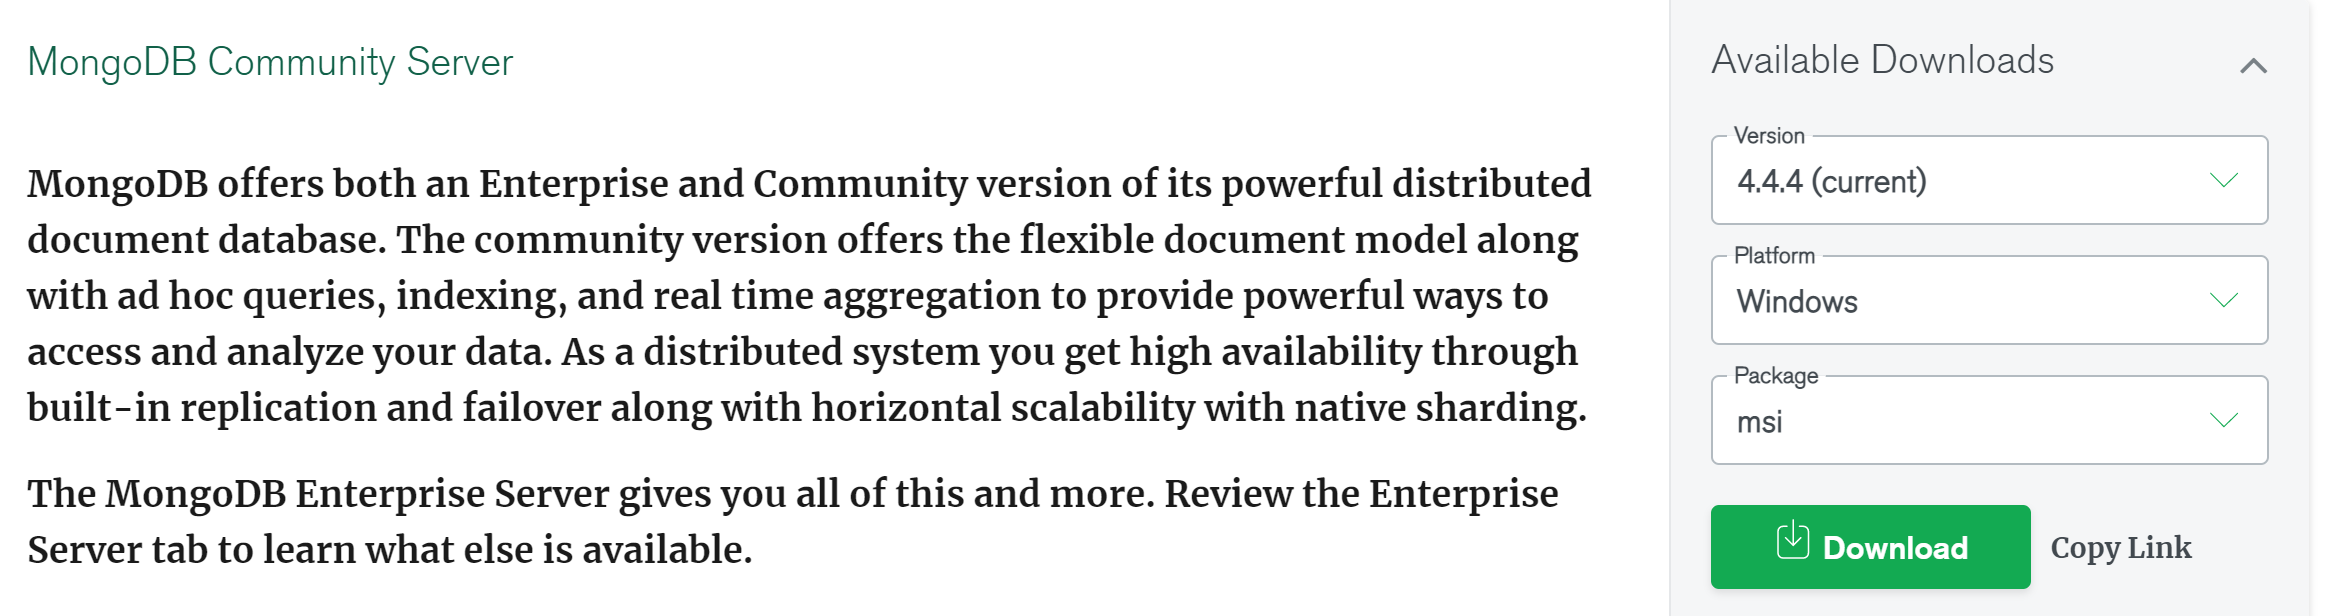
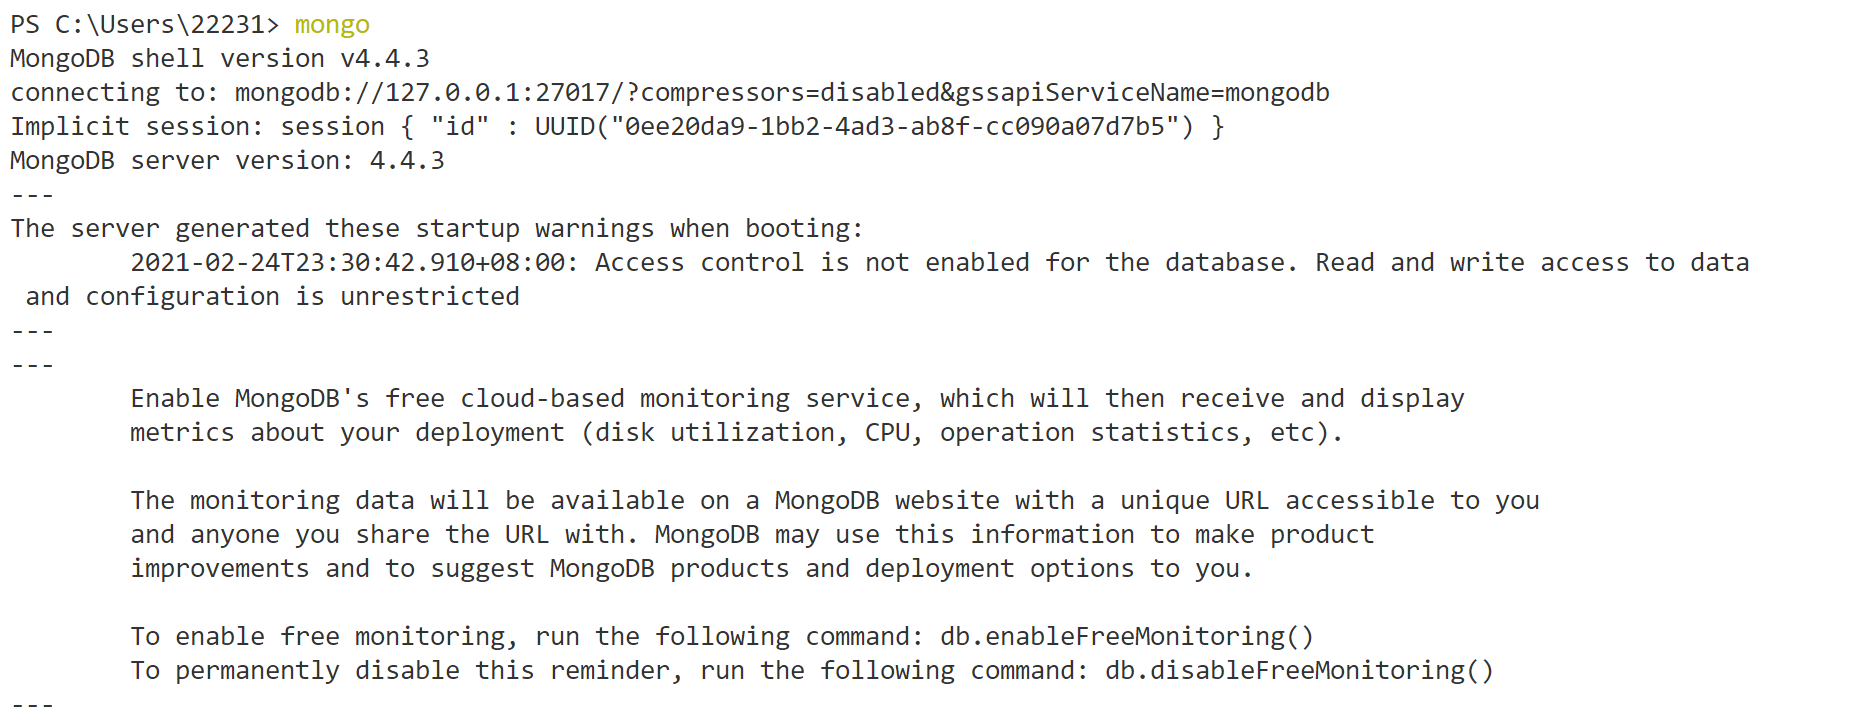
然后一直下一步进行安装即可。安装好之后,运行
就可以启动 MongoDB 服务,然后在命令行输入
即可连接到 MongoDB 服务器,然后进入 MongoDB shell,我们可以在这里输入命令操作数据库
操作数据库
查看数据库
使用 show dbs 查看所有的数据库
> show dbs
admin   0.000GB
config  0.000GB
local   0.000GB
note    0.000GB
todo    0.000GB
|
创建数据库
使用 use 数据库 来创建一个新的数据库,
> use ipartment
switched to db ipartment
> show dbs
admin   0.000GB
config  0.000GB
local   0.000GB
note    0.000GB
todo    0.000GB
|
我们发现并没有发现新建的数据库,我们必须向数据库中插入内容,才会显示新创建的数据库
> db.coll.insert({name: 'Alice'})
WriteResult({ "nInserted" : 1 })
> show dbs
admin      0.000GB
config     0.000GB
ipartment  0.000GB
local      0.000GB
note       0.000GB
todo       0.000GB
|
我们向 ipartment 数据库的 coll 集合中添加了一条文档 {name: 'Alice'}。
同样我们也可以使用 use 数据库 的方式来切换数据库,通过向命令行输入 db 可以知道目前在使用哪个数据库
> use note
switched to db note
> db
note
|
删除数据库
删除数据库,使用 db.dropDatabase() 删除数据库
> show dbs
admin 0.000GB
config 0.000GB
ipartment 0.000GB
local 0.000GB
note 0.000GB
todo 0.000GB
> use ipartment
switched to db ipartment
> db.dropDatabase()
{ "dropped" : "ipartment", "ok" : 1 }
> show dbs
admin 0.000GB
config 0.000GB
local 0.000GB
note 0.000GB
todo 0.000GB
|
操作集合
查看集合
使用 show collections 或 show tables 查看某数据库下所有的集合
> use admin
switched to db admin

> show collections
system.version

> show tables
system.version
|
添加集合
使用 db.createCollection(name, options) 来创建一个集合,接收两个参数
- name:集合的名字
- options:可选选项
- capped:为一个布尔值,当值为
true 时表示创建一个固定大小的集合,此时必须要指定 size 选项指定集合的大小。当达到最大值时,它会自动覆盖最早的文档。
- size:为固定集合指定最大值,单位为字节,指定该选项时,需要设置 capped 选项为 true
- max:指定集合能够包含的文档的最大数量
> show collections
notemodels
> db.createCollection('test')
{ "ok" : 1 }
> show collections
notemodels
test
|
或者我们可以通过 db.集合名.insert() 直接向集合中插入一条文档的方式来新建一个集合
> show collections
notemodels
test
> db.coll.insert({name: 'Bob'})
WriteResult({ "nInserted" : 1 })
> show collections
coll
notemodels
test
|
删除集合
通过 db.集合.drop() 方法来删除一个集合
> show collections
coll
notemodels
test
> db.coll.drop()
true
> show collections
notemodels
test
|
重命名集合
使用 db.集合.renameCollection(name) 来为集合重命名
> show collections
notemodels
test
> db.test.renameCollection('rename')
{ "ok" : 1 }
> show collections
notemodels
rename
|
操作文档
添加文档
使用 db.集合.insert() 向文档中添加文档
> use test
switched to db test
> db.data.insert({name: 'Alice', age: 18})
WriteResult({ "nInserted" : 1 })
|
每次插入一个文档时,文档中会默认添加一个 _id 属性 (当然如果你手动指定了 _id 属性,就不会添加了),这个 _id 属性就是这个文档的主键。
当我们使用 insert 方法插入文档时,如果主键冲突了(_id 属性的值相同),那么此时插入会失败。
MongoDB 还提供 insertOne() 与 insertMany() 两个方法来插入数据,顾名思义,insertOne() 是用来插入一条数据的,而 insertMany() 是用来添加多条数据的。
> db.data.insertOne({name: "Bob", age: 20})
{
"acknowledged" : true,
"insertedId" : ObjectId("603a33bc6999db0166256f73")
}
> db.data.insertMany([{name: 'Candy', age: 30},{name: "David"}])
{
"acknowledged" : true,
"insertedIds" : [
ObjectId("603a33fc6999db0166256f74"),
ObjectId("603a33fc6999db0166256f75")
]
}
|
查询文档
使用 db.集合.find(query) 方法来查询集合中符合条件的文档,query 就是查询条件。当我们不传入 query 时或者 query 为 {} 时,表示的是查询集合中的所有文档
> db.data.find()
{ "_id" : ObjectId("603a30186999db0166256f72"), "name" : "Alice", "age" : 18 }
{ "_id" : ObjectId("603a33bc6999db0166256f73"), "name" : "Bob", "age" : 20 }
{ "_id" : ObjectId("603a33fc6999db0166256f74"), "name" : "Candy", "age" : 30 }
{ "_id" : ObjectId("603a33fc6999db0166256f75"), "name" : "David" }
|
> db.data.find({name: 'Alice'})
{ "_id" : ObjectId("603a30186999db0166256f72"), "name" : "Alice", "age" : 18 }
|
如果我们只是希望返回一个符合条件的文档,我们可以使用 findOne()。
更新文档
使用 db.集合.update(conditions, doc) 根据条件 conditions 方法来更新文档,doc 为更新后的文档
> db.students.find()
{ "_id" : ObjectId("603b4a6282fe3db58b69cc6d"), "name" : "Alice", "age" : 20 }
> db.students.update({age: {$gt: 18}}, {name: "Alice", age: 18})
WriteResult({ "nMatched" : 1, "nUpserted" : 0, "nModified" : 1 })
> db.students.find()
{ "_id" : ObjectId("603b4a6282fe3db58b69cc6d"), "name" : "Alice", "age" : 18 }
|
上面我们引入一个新的符号 $gt,它表示大于,而 {age: {$gt: 18}} 就表示 age > 18。相关符号还有
- $gte:大于等于
- $lt:小于
- $lte:小于等于
- $neq:不等于
- $eq:等于
另外如果我们只是想更新某个字段,我们可以使用 $set 符号
> db.students.find()
{ "_id" : ObjectId("603b4a6282fe3db58b69cc6d"), "name" : "Alice", "age" : 18 }
> db.students.update({age: 18}, {$set: {age: 19}})
WriteResult({ "nMatched" : 1, "nUpserted" : 0, "nModified" : 1 })
> db.students.find()
{ "_id" : ObjectId("603b4a6282fe3db58b69cc6d"), "name" : "Alice", "age" : 19 }
|
删除文档
使用 db.集合.remove(query) 来删除符合条件的所有文档,query 即为查询条件,当 query 为 {} 或者不传入 query 参数时,意思为删除所有文档
> db.data.find()
{ "_id" : ObjectId("603a30186999db0166256f72"), "name" : "Alice", "age" : 18 }
{ "_id" : ObjectId("603a33bc6999db0166256f73"), "name" : "Bob", "age" : 20 }
{ "_id" : ObjectId("603a33fc6999db0166256f74"), "name" : "Candy", "age" : 30 }
{ "_id" : ObjectId("603a33fc6999db0166256f75"), "name" : "David" }
> db.data.remove({name: 'Alice'})
WriteResult({ "nRemoved" : 1 })
> db.data.find()
{ "_id" : ObjectId("603a33bc6999db0166256f73"), "name" : "Bob", "age" : 20 }
{ "_id" : ObjectId("603a33fc6999db0166256f74"), "name" : "Candy", "age" : 30 }
{ "_id" : ObjectId("603a33fc6999db0166256f75"), "name" : "David" }
|
另外 remove(query, options) 方法还接受一个可选参数 options,options 有一个选项 justOne,当 justOne 为 true 或者为 1 时,表示只删除一条文档。
mongoose
下面我们介绍如何使用 Node.js 操作 MongonDB。官方提供 mongodb 模块比较难用,这里选择大家常用的模块 mongoose。
安装 mongoose
npm install mongoose --save
|
来看一个简单的 demo,向数据库中添加了一条文档
const mongoose = require("mongoose");
mongoose.connect("mongodb://localhost:27017/test", {
useNewUrlParser: true,
useUnifiedTopology: true,
});
const db = mongoose.connection;
db.on("error", () => {
console.error("数据库连接失败!");
});
db.once("open", () => {
console.log("数据库连接成功!");
});
const StudentSchema = new mongoose.Schema({
name: String,
age: Number,
});
const StudentModel = mongoose.model("students", StudentSchema);
const alice = new StudentModel({
name: "Alice",
age: 18,
});
alice.save();
|
首先我们连接了 test 数据库,接着我们创建一个模式 (Schema),它规定了集合中文档每个字段的名称以及值的类型,接下来我们根据这个模式创建一个模型 (Model),并且创建了一个名为 students 的集合。
集合的名称与模型的名称(即 model() 方法的第一个参数)有关,集合名称是模型名称的小写版。并且如果模型名称的最后一个字符为字母,那么集合名称就会变为对应的复数形式;如果最后一个字符为数字,则不变
| 模型名称 |
集合名称 |
| Student |
students |
| Student1 |
student1 |
| STUDENT |
students |
下面我们根据创建的模型创建了一条文档,接着调用 save() 方法,将这条文档添加到集合中去。
为了下面演示的方便,我们创建一个 Model,并将其导出
const mongoose = require("mongoose");
mongoose.connect("mongodb://localhost:27017/test", {
useNewUrlParser: true,
useUnifiedTopology: true,
});
const db = mongoose.connection;
db.on("error", () => {
console.error("数据库连接失败!");
});
db.once("open", () => {
console.log("数据库连接成功!");
});
const StudentScheme = new mongoose.Schema({
name: String,
age: Number,
});
const StudentModel = mongoose.model("students", StudentScheme);
module.exports = StudentModel;
|
添加文档
通过向集合添加文档有三种方法:
其中 save 方法是 Model 实例的方法,而 create 与 insertMany 方法是 Model 的方法。下面给出一个 demo
const StudentModel = require("./StudentModel");
const bob = new StudentModel({ name: "Bob", age: 18 });
bob.save();
StudentModel.create({
name: "Candy",
age: 20,
});
let docs = [
{
name: "David",
age: 40,
},
{
name: "Eva",
age: 19,
},
];
StudentModel.insertMany(docs);
|
查看数据库
> db.students.find()
{ "_id" : ObjectId("603a5b85606f6555b0151f65"), "name" : "David", "age" : 40, "__v" : 0 }
{ "_id" : ObjectId("603a5b85606f6555b0151f66"), "name" : "Eva", "age" : 19, "__v" : 0 }
{ "_id" : ObjectId("603a5b85606f6555b0151f63"), "name" : "Bob", "age" : 18, "__v" : 0 }
{ "_id" : ObjectId("603a5b85606f6555b0151f64"), "name" : "Candy", "age" : 20, "__v" : 0 }
|
查询文档
查询数据主要有如下三个方法:
上面的三个方法都返回一个 Promise,它们的用法见下面的 demo
const StudentModel = require("./StudentModel");
const results = StudentModel.find();
results.then((docs) => {
docs.forEach((doc) => {
console.log(doc.name);
});
});
let doc = StudentModel.findOne({ name: "Bob" });
doc.then((bob) => {
console.log(bob.name);
});
doc = StudentModel.findById("603a5b85606f6555b0151f64");
doc.then((candy) => {
console.log(candy.name);
});
|
更新文档
有关更新文档的方法有如下几种:
- update
- updateOne
- updateMany
- findOneAndUpdate
- findByIdAndUpdate
update 方法接收参数如下
- conditions
- doc
- options
- callback
我们根据条件 conditions 找到需要更新的文档,然后根据 doc 更新文档,options 包含如下选项
- upsert(boolean):如果不存在则创建新的文档
- multi(boolean):是否更新多条查询
- setDefaultsOnInsert(boolean):如果 upsert 为 true,那么插入文档时使用默认值
updateOne 表示只更新一条文档,即使设置了 multi 为 true;updateMany 可以更新多条文档,即使设置了 multi 为 false。
const StudentModel = require("./StudentModel");
StudentModel.update({ name: "Bob" }, { $set: { age: 30 } });
|
findByIdAndUpdate() 与 findOneAndUpdate() 也可以用来更新一条文档。
删除文档
有关删除文档的方法有如下三种:
- deleteOne
- deleteMany
- findByIdAndDelete
- findOneAndDelete
踩坑:一直使用上述方法删除失败失败,后来发现需要在调用方法后需要加上 exec()
见下方 demo 演示方法的使用
const StudentModel = require("./StudentModel");
StudentModel.deleteOne({ age: 19 }).exec();
StudentModel.deleteMany({ age: { $gt: 15 } });
StudentModel.findOneAndDelete({ name: "Alice" }).exec();
StudentModel.findByIdAndDelete("603a5b85606f6555b0151f65").exec();
|
参考文章
 微信
微信 支付宝
支付宝