引入 Stream 假设我们有这么一个需求,我们需要复制一个文件中的内容到另一个文件中,我们会写出以下代码
const fs = require ('fs' );const path = require ('path' );const copy = (source, target ) => { fs.readFile(path.resolve(source), (err, data ) => { if (err) { throw new Error (err.toString()); return ; } fs.writeFile(path.resolve(target), data, (err ) => { if (!err) { console .log("复制成功!" ); } }) }) }
上面的代码很简单,就是先读取 source 文件里面的内容,然后将内容写入到 target 文件中。它的特点是需要读取完 source 里面的所有内容 ,然后将内容写入到 target 中。
这样做就有一个缺点,当我们读取大文件时,可能会发生内存不够用的情况,因为它会先将文件的所有内容都读取到内存;另外还就是时间,一次性读取一个大文件到内存,是需要比较长的时间的,用户可能会有卡顿的感觉。
另一种解决办法就是边读边写,读取部分文件内容,然后将内容写入到新文件中,这样在内存中的数据只是部分内容,不会占有太多的内存,由于是边读编写,用户可以很快的得到响应,提高用户体验。
在网上 找到一幅动图来形象的展示使用流前后数据的流动情况
Node.js 给我们提供 Stream 的 API,它是专门用来处理大文件的。因为数据是一部分一部分的处理,就像是水流一样,所以这个模块的名称就称为 Stream。
const fs = require ('fs' );function copy (source, target ) const rs = fs.createReadStream(source); const ws = fs.createWriteStream(target); rs.on('data' , data => ws.write(data); }); rs.on('end' , () => { ws.end(); }); }
上面代码的细节将在后文揭晓。
Stream 的分类 Stream 可以分为四类
Readable:可读流,数据的提供者
Writeable:可写流,数据的消费者
Duplex:可写可读流(双工流)
Transform:是 Duplex 的特殊情况,转换流,对输入的数据进行处理,然后输出
可读流与可写流是基础,常见的可读流与可写流如下
可读流
可写流
HTTP Request
HTTP Reponse
fs read streams
fs write streams
process.stdin
process.stdout
TCP sockets
TCP sockets
zlib streams
zlib streams
crypto streams
crypto streams
Stream 是 EventEmitter 的实例,有自定义的事件。
Readable Stream 可读流有两个模式,暂停模式与流动模式。当我们创建一个流时,如果我们监听了 readable 事件,它就会来到暂停模式,在暂停模式下,它会不断的读取数据到缓冲区,当读取到的数据超过预设的大小时,它由属性 highWaterMark 指定(默认为 64kB),便会触发 readable 事件,readable 事件的触发有两种情况:
缓存区中的数据达到 highWaterMark 预设的大小
数据源的数据已经被读取完毕
const fs = require ('fs' );const rs = fs.createReadStream('a.txt' , { highWaterMark : 1 }); rs.on('readable' , () => { let data; while (data=rs.read()) { console .log(data.toString()); } })
上面的程序设置 highWaterMark 为 1,即每次读取到一个字节便会触发 readable 命令,每次当触发 readable 命令时,我们调用可读流的 read([size]) 方法从缓冲区中读取数据(读取到的数据为 Buffer),然后打印到控制台。
当我们为可读流绑定 data 事件时,可读流便会切换到流动状态,当位于流动状态时,可读流会自动的从文件中读取内容到缓冲区,当缓冲区中的内容大于设定的 highWaterMark 的大小时,便会触发 data 事件,将缓冲区中的数据传递给 data 事件绑定的函数。以上过程会自动不断进行。当文件中的所有内容都被读取完成时,那么就会触发 end 事件。
const fs = require ('fs' );const rs = fs.createReadStream('a.txt' , { highWaterMark : 2 }); rs.on('data' , data => console .log(data.toString()); }); rs.on('end' , () => { console .log("文件读取完毕!" ); });
暂停模式像是手动步枪,而流动模式则像是自动步枪。暂停模式与流动模式也可以相互切换,通过 pause() 可以从暂停状态切换到流动状态,通过 resume() 则可以从暂停模式切换到流动模式。
可读流的一个经典实例就是 http 中的请求对象 req,下面的程序展示了通过监听 req 的 data 事件来读取 HTTP 请求体中的内容
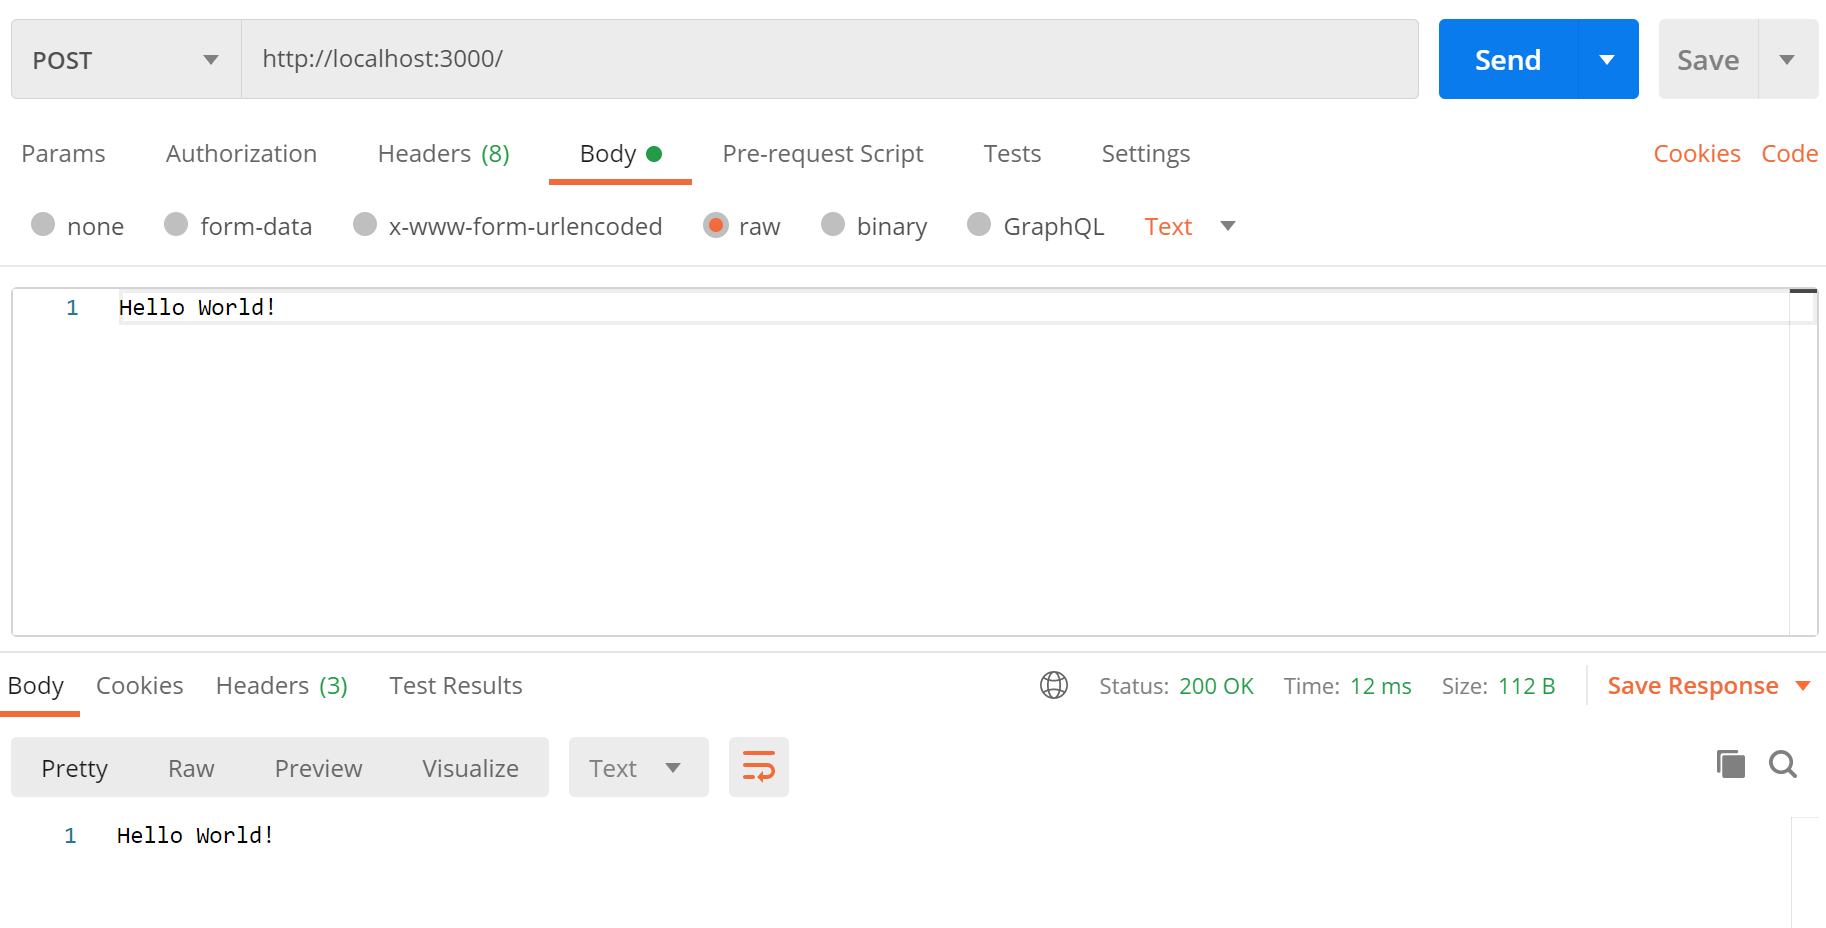
const http = require ('http' );const app = http.createServer();app.on('request' , (req, res ) => { let datas = []; req.on('data' , data => datas.push(data); }); req.on('end' , () => { req.body = Buffer.concat(datas); res.end(req.body); }); }) app.listen(3000 , () => { console .log("服务启动在 3000 端口... ..." ); })
Writable Stream 可写流与可读流相似,当我们向可写流写入数据时(通过可写流的 write() 方法写数据),会直接将数据写入到文件中,如果写入的数据比较慢的话,那就就会将数据写入到缓冲区,当缓冲区中的内容达到 highWaterMark 设定的大小时,write 方法就会返回一个 false,表明不能接受更多的数据了。
当缓冲区中的数据全部被消费完了(写入了文件中或者被别的流消费了),那么就会触发 drain 事件。
const fs = require ('fs' );const ws = fs.createWriteStream('b.txt' , { highWaterMark : 16 * 1024 }); function writeMillionTimes (writer, data, encoding, callback ) let i = 10000 ; write(); function write ( let ok = true ; while (i-- > 0 && ok) { ok = writer.write(data, encoding, i === 0 ? callback : null ); } if (i > 0 ) { console .log("drain" , i); writer.once('drain' , write); } } } writeMillionTimes(ws, 'simple' , 'utf-8' , () => { console .log("end" ); })
输出为
drain 7268
drain 4536
drain 1804
end
说明有三次缓冲区中的内容达到了 16KB,可以验算上面的数字之间的差值,在乘以 6(simple 的字节数),大小大约为 16 * 1024 左右,如
$$
我们还可以调用可写流的 end() 方法,表示将缓存中的内容清空写入文件,并关闭文件,此时会触发 close 事件
const fs = require ('fs' );const ws = fs.createWriteStream('b.txt' );ws.write('Hello' ); ws.write('World' ); ws.end('!' ); ws.on('close' , () => { console .log("close" ); })
当调用 end() 方法之后就不能调用 write() 方法了,否则会报错
const fs = require ('fs' );const ws = fs.createWriteStream('b.txt' );ws.write('Hello' ); ws.write('World' ); ws.end('!' ); ws.write('write again' );
当调用 end() 方法之后,并且数据缓冲区中的数据已经写入之后会触发可写流的 finish 事件
const fs = require ('fs' );const ws = fs.createWriteStream('b.txt' );ws.write('Hello' ); ws.write('World' ); ws.end('!' ); ws.on('close' , () => { console .log("close" ); }); ws.on('finish' , () => { console .log("finish" ); });
打印结果是
说明 finish 事件会在 close 事件之前被触发。
可写流的经典例子就是 http 模块的响应对象 res,下面的程序演示了当请求到来时,我们读取一个 html 页面返回给客户端
const http = require ('http' );const fs = require ('fs' );const app = http.createServer();app.on('request' , (req, res ) => { const rs = fs.createReadStream('index.html' ); rs.on('data' , data => res.write(data); }) rs.on('end' , () => { res.end() }); }); app.listen(3000 , () => { console .log("服务启动在 3000 端口 ... ..." ); })
Duplex,即双工的意思,它既可以接收数据,也可以输出数据,它的输入和输出之间可以没有任何的关系,就像是一个部件内部有两个独立的系统。Duplex 继承了 可读流(Readable),并且拥有可写流(Writable)的所有方法。
Transform Stream 继承了 Duplex Stream,它同样具有可读流与可写流的能力,并且它的输出与输入之间是有关系的,中间做了一次转换。常见的转换流有 zlib,crypto。
出于文章结构的考虑,在这里不详细讲解这两个流,在后文中会实现这两个流,以加深对这两个流的理解。
pipe 我们可以混合使用可读流与可写流来进行文件的复制
const fs = require ('fs' );function copy (source, target ) const rs = fs.createReadStream(source); const ws = fs.createWriteStream(target); rs.on('data' , data => ws.write(data); }); rs.on('end' , () => { ws.end(); }); } copy('a.txt' , 'b.txt' );
但是上面的写法却不被建议使用,因为没有考虑到可读流与可写流速度之间的差异,如果可读流输出数据的速度大于可写流写入数据的速度,这个时候就会有数据一直堆压在缓存区,导致占用过高的内存,专业术语叫做积压。
我们需要改善上面的程序,具体做大就是当 write() 方法返回 false,我们切换可读流的模式为暂停模式,当可写流触发了 drain 事件时,我们便将可读流的状态切换为流动模式
const fs = require ('fs' );function copy (source, target ) const rs = fs.createReadStream(source); const ws = fs.createWriteStream(target); rs.on('data' , data => if (!ws.write(data)) { rs.pause(); } }); rs.on('end' , () => { ws.end(); }); ws.on('drain' , () => { rs.resume(); }) }
那是不是每次我们使用流都需要写这么多的代码,当然不是。官方为可读流提供了一个 pipe(ws) 方法,pipe 方法接收一个可写流,它的作用就是将可读流中数据写入到可写流中去,并且它内部有做速度差异的处理。所以上面的写法可以改为下面的版本
const fs = require ('fs' );function copy (source, target ) const rs = fs.createReadStream(source); const ws = fs.createWriteStream(target); rs.pipe(ws); }
当我们调用 pipe 方法时,会触发可写流的 pipe 事件。pipe 的实现参考如下
Readable.prototype.pipe = function (ws ) this .on('data' , data => if (!ws.write(data)) { this .pause(); } }); ws.on('drain' , () => { this .resume(); }); ws.emit('pipe' , this ); return ws; }
这里给出官网画的一个有关 pipe 的流程图
                                                     +===================+
                         x-->  Piping functions   +-->   src.pipe(dest)  |
                         x     are set up during     |===================|
                         x     the .pipe method.     |  Event callbacks  |
  +===============+      x                           |-------------------|
  |   Your Data   |      x     They exist outside    | .on('close', cb)  |
  +=======+=======+      x     the data flow, but    | .on('data', cb)   |
          |              x     importantly attach    | .on('drain', cb)  |
          |              x     events, and their     | .on('unpipe', cb) |
+---------v---------+    x     respective callbacks. | .on('error', cb)  |
|  Readable Stream  +----+                           | .on('finish', cb) |
+-^-------^-------^-+    |                           | .on('end', cb)    |
  ^       |       ^      |                           +-------------------+
  |       |       |      |
  |       ^       |      |
  ^       ^       ^      |    +-------------------+         +=================+
  ^       |       ^      +---->  Writable Stream  +--------->  .write(chunk)  |
  |       |       |           +-------------------+         +=======+=========+
  |       |       |                                                 |
  |       ^       |                              +------------------v---------+
  ^       |       +-> if (!chunk)                |    Is this chunk too big?  |
  ^       |       |     emit .end();             |    Is the queue busy?      |
  |       |       +-> else                       +-------+----------------+---+
  |       ^       |     emit .write();                   |                |
  |       ^       ^                                   +--v---+        +---v---+
  |       |       ^-----------------------------------<  No  |        |  Yes  |
  ^       |                                           +------+        +---v---+
  ^       |                                                               |
  |       ^               emit .pause();          +=================+     |
  |       ^---------------^-----------------------+  return false;  <-----+---+
  |                                               +=================+         |
  |                                                                           |
  ^            when queue is empty     +============+                         |
  ^------------^-----------------------<  Buffering |                         |
               |                       |============|                         |
               +> emit .drain();       |  ^Buffer^  |                         |
               +> emit .resume();      +------------+                         |
                                       |  ^Buffer^  |                         |
                                       +------------+   add chunk to queue    |
                                       |            <---^---------------------<
                                       +============+
实现流 在本节中我们实现具体来流,通过实现流可以进一步加深对 Stream 内部工作细节的理解。
实现可读流 上面我们都是通过 fs.createReadableStream() 方法来得到一个可读流的,在这里我们自己实现一个可读流。实现可读流只需要继承 Readable 类,然后实现 _read() 方法即可
const {Readable} = require ('stream' );class IeteratorReadableStream extends Readable constructor (iterator ) super (); this .iterator = iterator; } _read ( let data = this .iterator.next(); if (data.done) { this .push(null ); } else { this .push(data.value+'' ); } } } module .exports = IeteratorReadableStream;
上述我们实现了一个可读流,可读流接收一个迭代器作为参数,这个迭代器作为这个可读流的数据源。可读流会自动的调用 _read 获取数据,在 _read 方法中我们从迭代器中获取数据,并且调用了 push 方法,该方法的作用就是将数据放入到缓存区中,只能向其中 push 字符串或者 Buffer,当我们向其中 push null 时就表示数据已经被全部读取完毕。
所以可读流的执行逻辑为,每次调用 _read 方法从数据源读取数据,并将数据存入缓存区,然后触发 data 事件,将缓存区中的数据作为参数传递给 data 事件绑定的回调函数,循环上述过程直到向缓存区 push null 时,就表示数据源中的数据已经被读取完毕,此时会触发 end 事件。
我们创建一个迭代器作为数据源传入
const IeteratorReadableStream = require ('./IteratorReadableStream' );function *getData ( for (let i = 0 ; i < 5 ; i++) { yield i; } } let rs = new IeteratorReadableStream(getData());rs.on('data' , data => console .log(data.toString()); }); rs.on('end' , () => { console .log("迭代结束" ); });
输出为
实现可写流 实现可写流的过程同实现可读流的过程类似,首先需要继承 Writable 类,接着实现 _write 方法即可
const fs = require ('fs' );const {Writable} = require ('stream' );class FileWritableStream extends Writable constructor (filepath ) super (); this .filepath = filepath; } _write (chunk, encoding, callback ) fs.appendFile(this .filepath, chunk, { encoding }, callback) } }
上面我们实现了一个可写流,这个可写流接收一个文件路径作为参数,它的作用就是向这个文件中追加数据,每次当我们调用可写流的 write() 方法时,它会向缓冲区写入数据,当达到阈值时,便会调用 _write() 方法将数据新增到文件中。
process.stdin.pipe(new FileWritableStream('c.txt' ));
上面这行代码的作用就是将从标准输入的字符输出到 c.txt 中。
实现双工流 Duplex Stream 既可以作为可读流,也可以作为可写流,并且它的输入与输出之间可以没有关系。Duplex Stream 继承了 Readable,并且拥有 Writable 的所有,我们只要分别实现 _read() 和 _write() 方法即可
const { Duplex } = require ('stream' );class CustomDuplexStream extends Duplex constructor ( super (); this .currentCharCode = 65 ; } _read ( if (this .currentCharCode <= 90 ) { this .push(String .fromCharCode(this .currentCharCode++)) } else { this .push(null ); } } _write (chunk, encoding, callback ) console .log(chunk.toString()); callback(); } }
上面双工流的可读流部分就是将大写的 26 个字母添加进了缓存区,而可写流部分就是直接将数据输出到控制台。可见双工流可读流与可写流之间并没有任何的关系
const dp = new CustomDuplexStream();dp.write("1" ); dp.write("2" ); dp.end(); dp.pipe(process.stdout);
输出为
1
2
ABCDEFGHIJKLMNOPQRSTUVWXYZ
实现转换流 Tranform Stream 是 Duplex 的特例,它也是一个双工流,不过它的输入和输出之间有关联,它的内部通过 _transform() 方法将可写流接收到的数据经过转换后传入到可读流中,所以我们要实现转换流,只需要实现 _transform() 方法即可
const { Transform } = require ('stream' );class UpperTransformStream extends Transform _transform (chunk, encoding, callback ) this .push(chunk.toString().toUpperCase()); callback(); } }
上面我们实现了一个转换流,它可以将输入的小写字符转化为大写字符然后输出
const ts = new UpperTransformStream();const rs = fs.createReadStream('a.txt' );rs.pipe(ts).pipe(process.stdout);
上面程序会读取 a.txt 中的所有字符,将字符转换为大写然后输出在控制台。
转换流在实际应用中还是比较多的,这里介绍一个 Node.js 内置的转换流 zlib,它的作用对文件进行解压缩,将文件压缩为压缩文件,或者将压缩文件解压为正常文件,这不就是一个典型的转换流嘛!
const zlib = require ('zlib' );const fs = require ('fs' );const args = process.argv.slice(2 );const source = fs.createReadStream(args[0 ]);const target = fs.createWriteStream(args[1 ]);const gzip = zlib.createGzip();source.pipe(gzip).pipe(target);
我们可以通过
node gzip.js Graph.md Graph.md.gz
来运行上面的程序,它可以将 Graph.md 使用 gzip 压缩为 Graph.md.gz。
文件大小从 201KB 压缩到了 51KB。
同样的我们也可以通过 zlib.createGunzip() 来创建一个解压缩的转换流,具体细节同压缩文件相同,不做介绍。
本篇文章到此结束,想必到这里已经对 Stream 的使用已经有所了解了,但是本篇文章并没有列举所有有关 Stream 的 API,如果想更加详细的了解 Stream 的 API,那么接下去就可以阅读官方文档 了。
参考文献


 微信
微信 支付宝
支付宝