最近想学习 Linux,所以就需要一个 Linux 系统,那怎么搞一个 Linux 系统呢,据我所知有如下四种方法
- 安装双系统
- WSL
- 租云服务器
- 安装虚拟机
租云服务器以及虚拟机我都尝试过,不过现在云服务器现在到期了,我重装系统后虚拟机也没有了,所以我现在想尝试一下使用 WSL。WSL 的全称是 Windows-SubSystem-Linux,就是可以在 Windows 上面安装一个 Linux 的子操作系统,下面就具体讲一下安装过程,以及可能遇到的问题。
安装 WSL
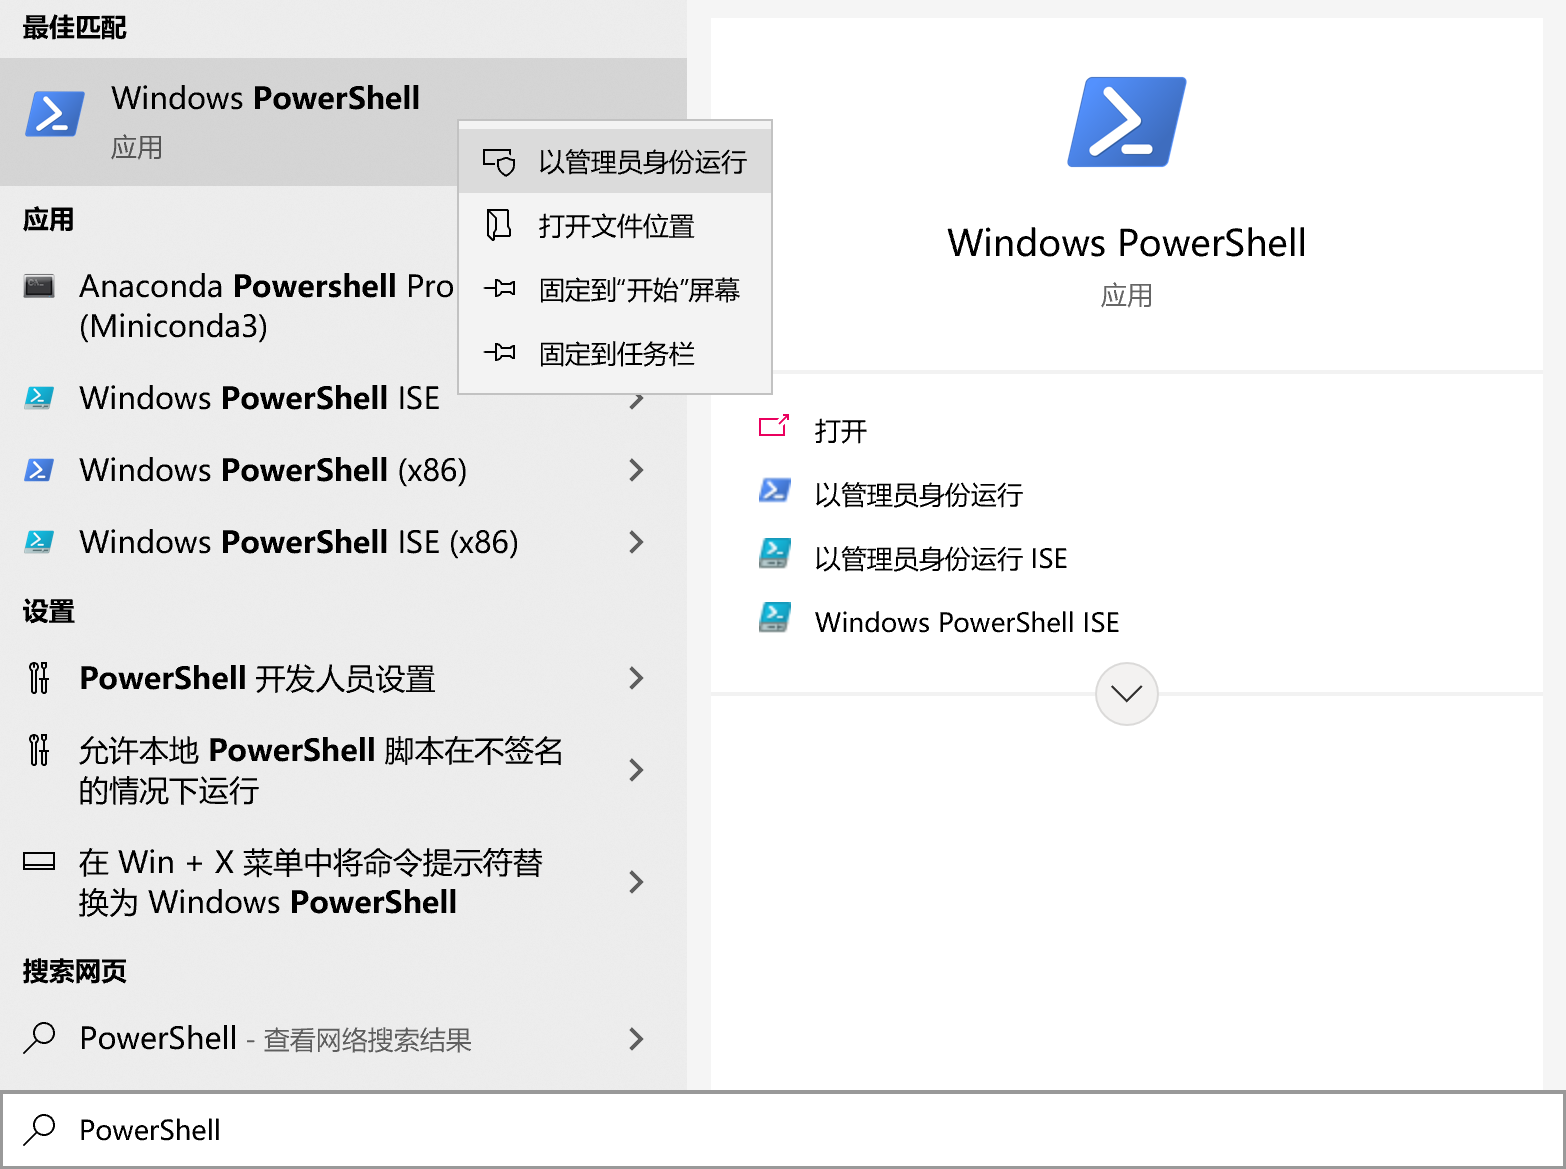
如果你上网搜索如何安装 WSL,一般都是让你在 PowerShell 依次运行这两个命令(需要管理员身份)
# 启动虚拟机功能 |
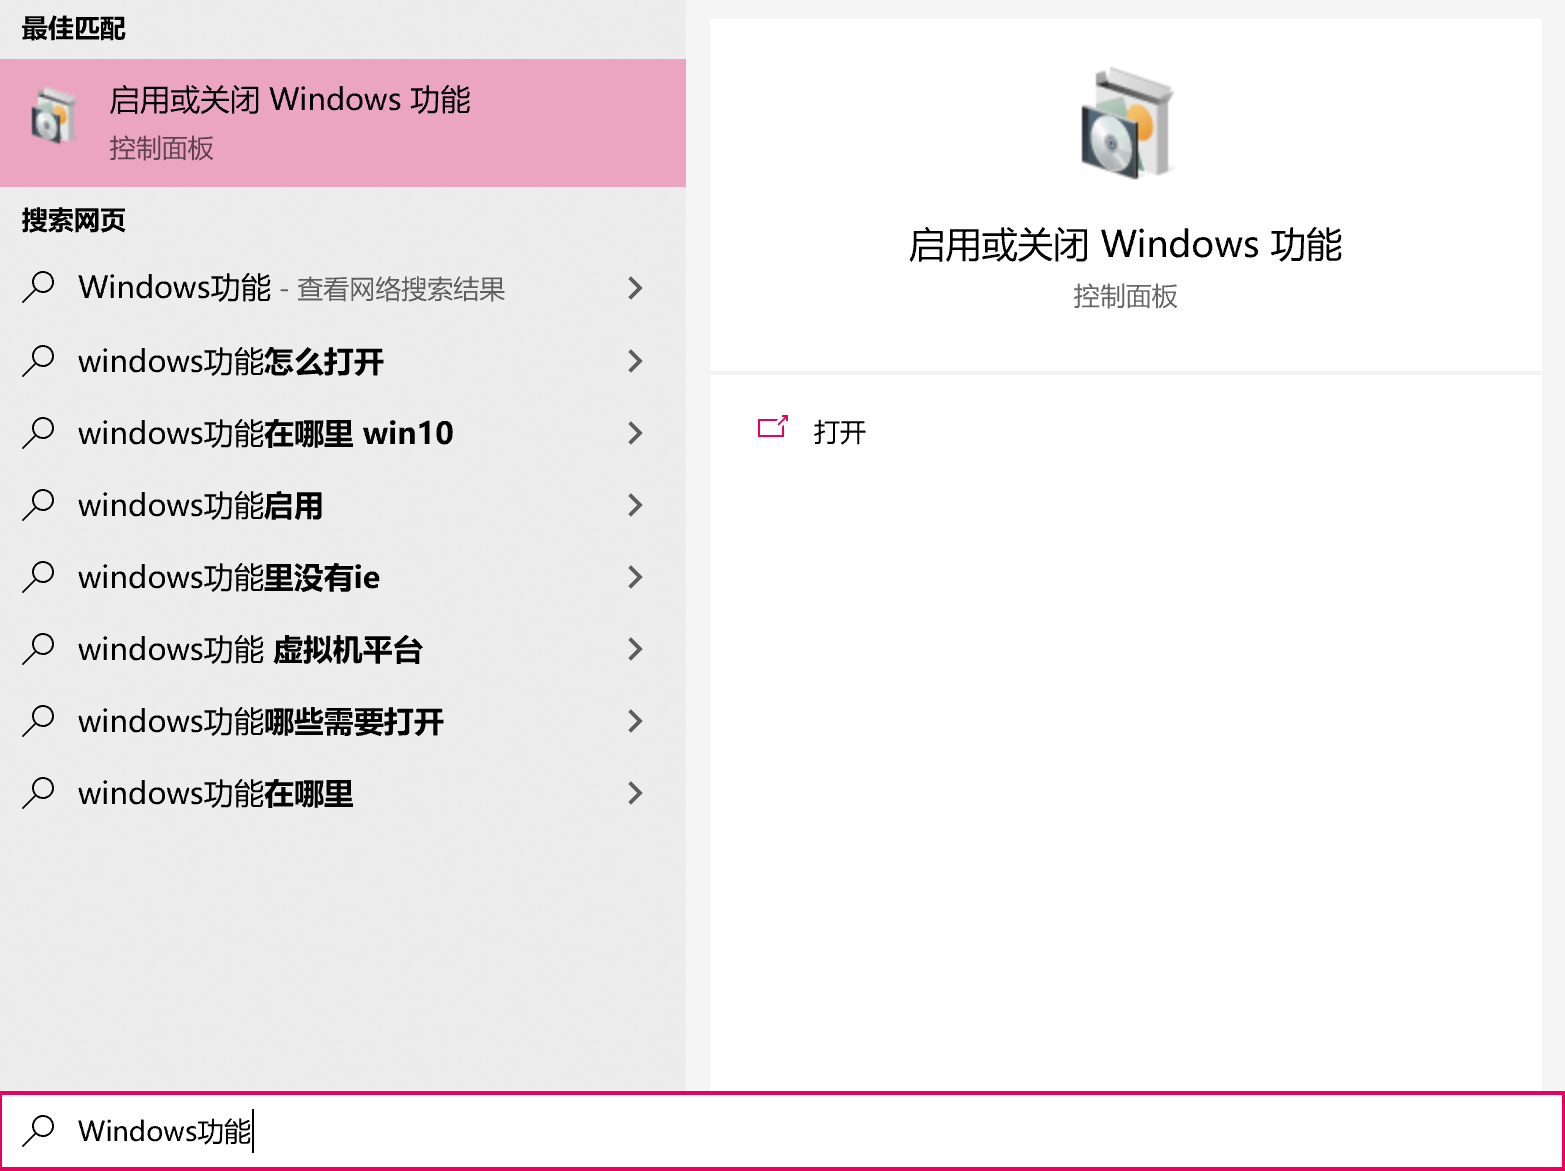
但是每次我运行都会报错(现在演示不了了,因为我现在不报错了),然后我在网上找到一篇文章如何在 Windows 10 中安装 WSL2 的 Linux 子系统可以在 Windows 功能 启动这两个功能
把适用于 Linux 的 Windows 子系统和虚拟机平台勾上
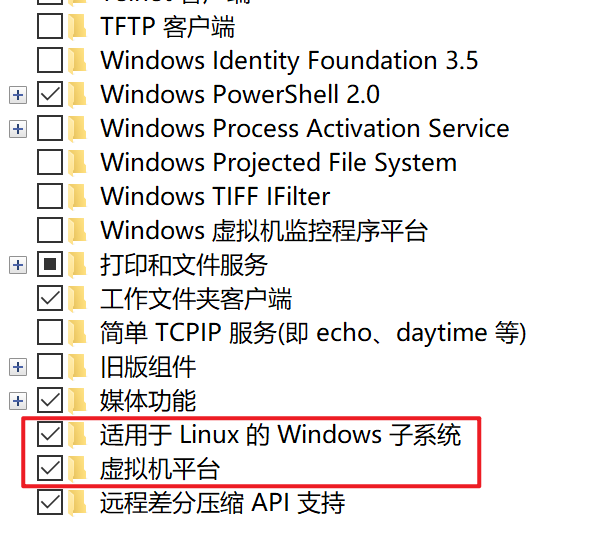
然后点确定,这时系统会提示你重启,同意即可。重启之后打开应用商店,搜索 Linux,选择一个版本下载
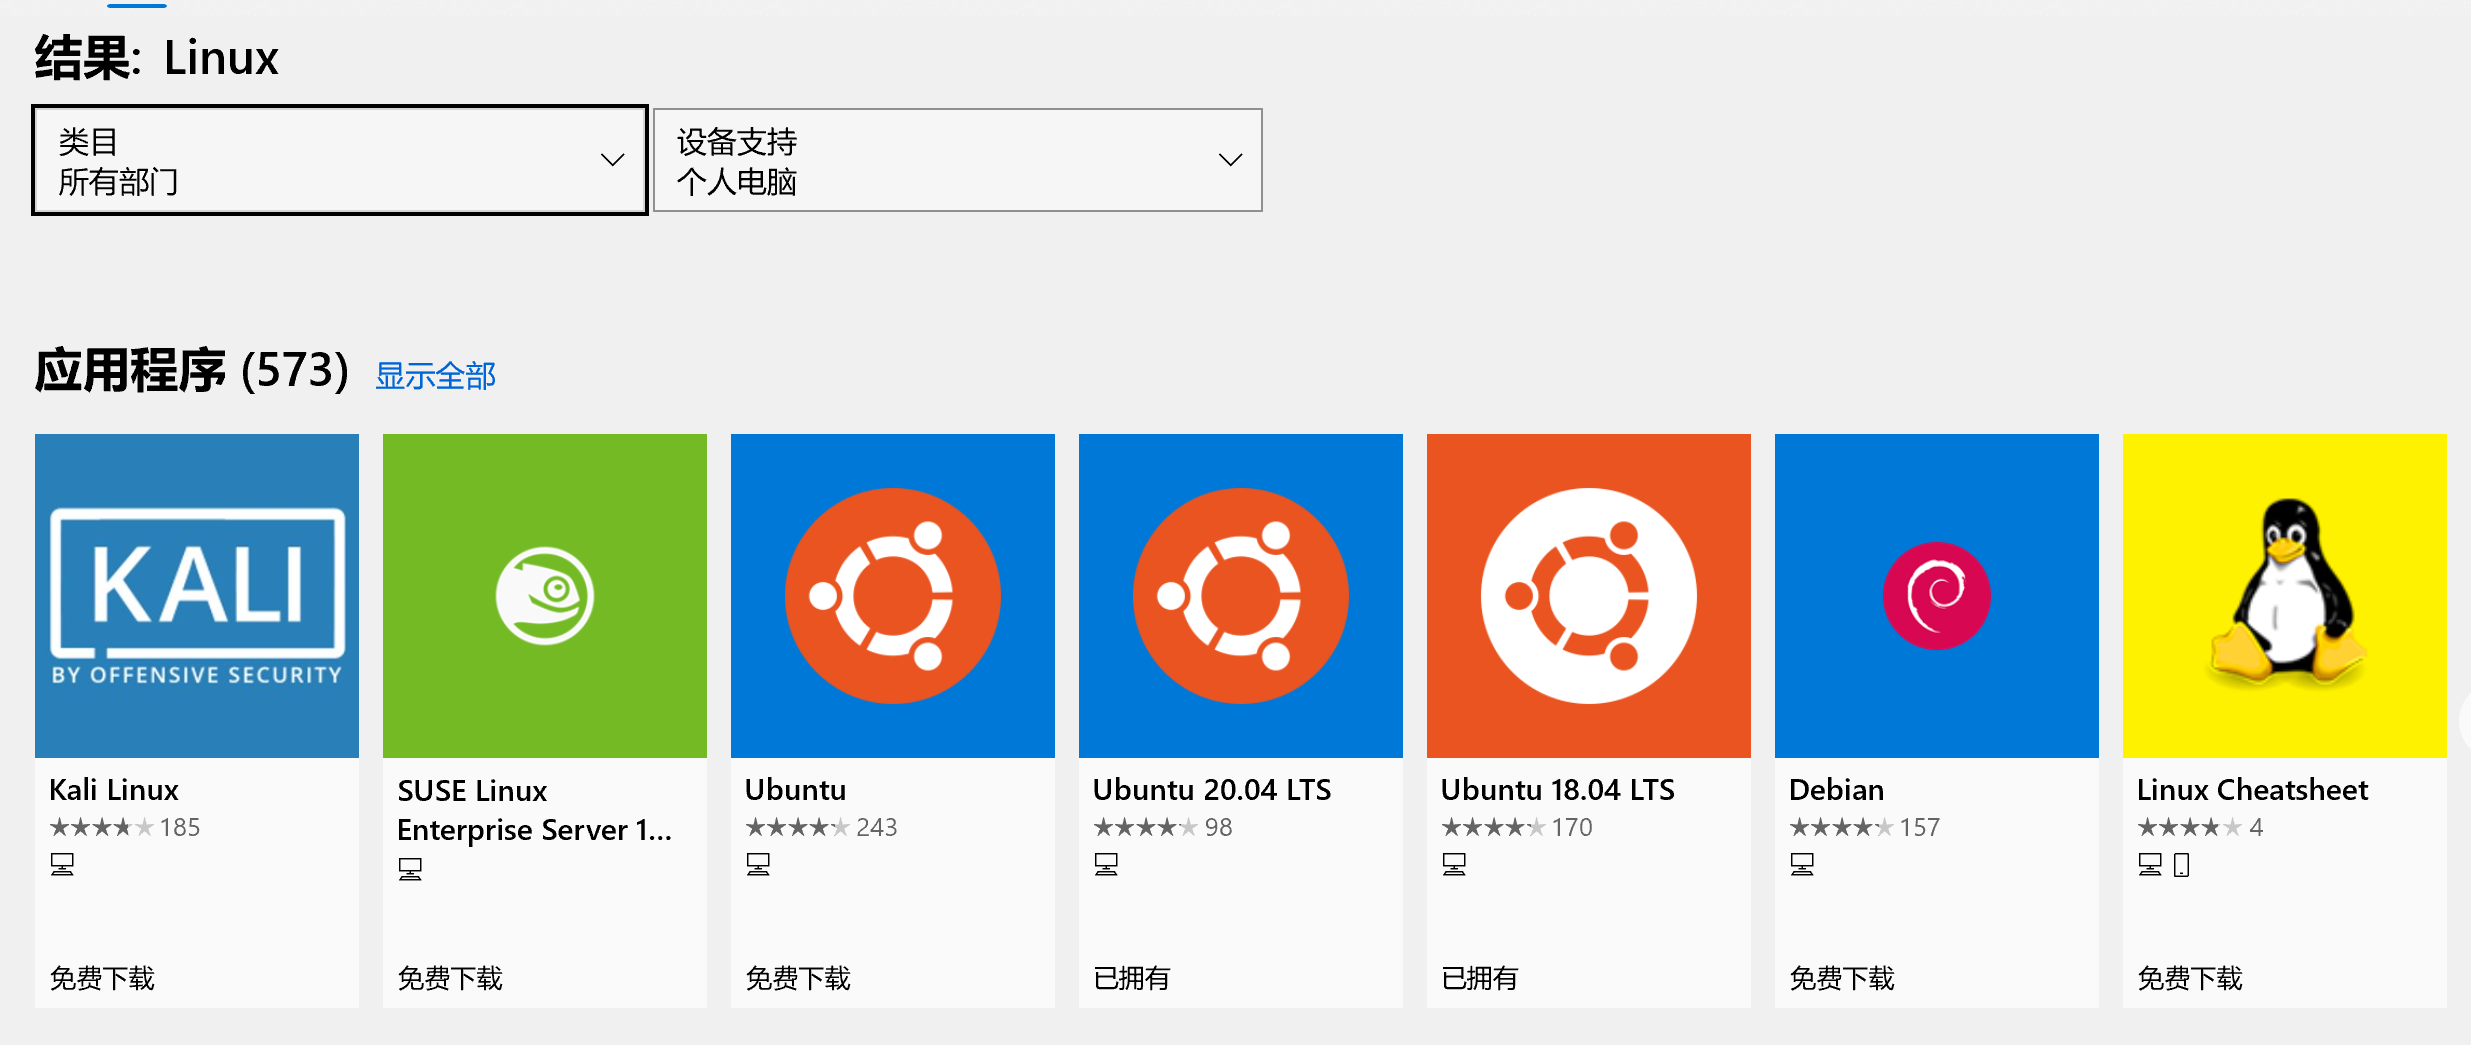
我选择的是 Ubuntu 20.04 LTS,点击进行下载,下载完成之后运行该 Linux 系统,还会进行一次安装
Installing, this may take a few minutes…
安装完成之后,会让你设置用户名和密码,正常设置即可,设置完就安装完成了

为了能够使用 ssh 工具远程访问,我们需要下载一些东西,并进行相关的配置,首先在 WSL 中依次运行如下两个命令
更新系统 |
然后修改配置文件
sudo vim /etc/ssh/sshd_config |
因为 WSL 与 Windows 公用一套端口,所以我们修改 WSL 其 ssh 端口为 9999,并且需要密码验证
端口 |
然后启动 ssh 服务就可以通过 ssh 工具进行远程连接了
sudo service ssh --full-restart |
配置 zsh
查看当前已有的终端,并没有 zsh
cat /etc/shells |
查看当前使用的终端,是 bash
echo $SHELL |
下载 zsh
在命令行输入一下命令
apt install -y zsh |
查看当前已有终端,这个时候有 zsh 了
cat /etc/shells |
修改当前终端为 zsh
chsh -s /bin/zsh |
需要重启才能生效,重启完成之后查看当前终端,可以发现已经切换到 zsh 了
echo $SHELL |
oh-my-zsh 安装脚本
下面下载安装脚本,由于未知原因,github 上的脚本下载失败,我们就下载国内的
wget https://gitee.com/mirrors/oh-my-zsh/raw/master/tools/install.sh |
可以在当前目录下面发现下载的 install.sh
ls |
修改脚本内容,将下载源由 github 改为 gitee
sudo vim install.sh |
找到以下内容并进行修改
# 修改前 |
保存并退出,然后为该脚本添加执行权限,并且执行
添加执行权限 |
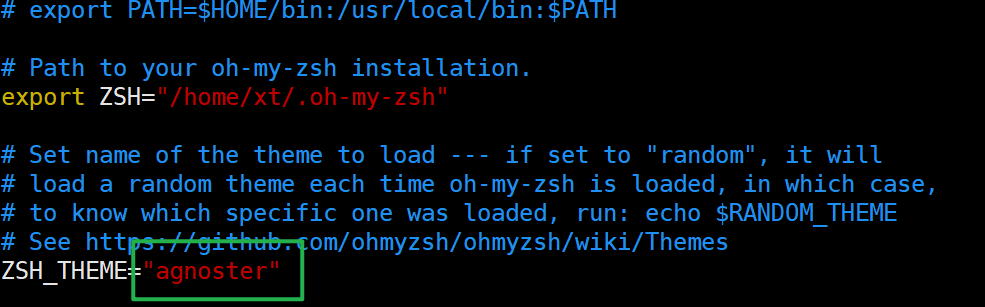
然后我们修改 oh-my-zsh 的主题,打开 ~/.zshrc,修改主题为 agnoster
sudo vim ~/.zshrc |
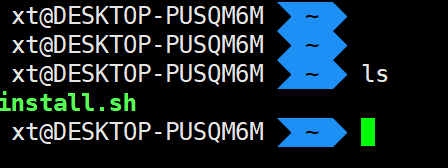
保存并退出,运行如下命令激活配置
source ~/.zshrc |
效果如下所示
安装插件
我们可以查看 ~/.zshrc 来看安装了哪些插件
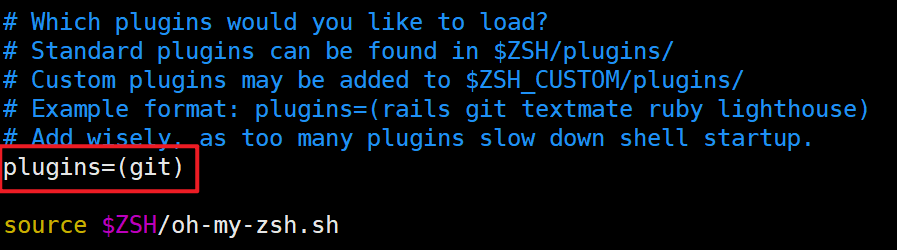
默认只有 git 插件,该插件提供了很多 git 命令的缩写,例如
gp = git pushgm = git merge
通过下面的命令查看 git 命令的所有缩写
cat ~/.oh-my-zsh/plugins/git/git.plugin.zsh |
下面介绍两个插件:
- zsh-syntax-highlighting:语法高亮,输入正确的语法会显示绿色,输入错误的语法会显示红色
- zsh-autosuggestions:根据输入的历史命令,对当前输入的命令进行提示,强烈推荐
首先对这两个插件进行下载:
git clone https://github.com/zsh-users/zsh-syntax-highlighting.git ${ZSH_CUSTOM:-~/.oh-my-zsh/custom}/plugins/zsh-syntax-highlighting |
然后在 ~/.zshrc 中添加这两个插件
plugins=(git zsh-syntax-highlighting zsh-autosuggestions) |
保存并退出后激活配置文件
source ~/.zshrc |
效果如下

参考文章
 微信
微信 支付宝
支付宝